MGEN.APP ASCOM Camera Driver
Version 1.1
Date of creation: 2020-01-12
Updated: 2020-03-07
Author: Walter Weichselbaum
MGEN.APP connects your image capturing software with your MGEN device and your camera and has a user interface to remote control MGEN.
How does it work
MGEN.APP sits between your image capturing software and your camera and is forwarding all commands from the software to your camera. This is necessary because MGEN needs to know when a exposure has completed in order to use the dithering function.
If the exposure is completed and the image capturing software requests the image from the camera, MGEN.APP counts up the Image Counter if dithering is activated. If the Image Counter equals the number of exposures before dithering, MGEN.APP then tells MGEN to dither. If the dithering is completed the Image Counter is set to 0 and counts up again after each exposure if dithering is still activated.
Quickstart
Before you start you need to know how to connect a ASCOM Camera in your image capturing software. If you know how to do so please go on. If not please refer to the help from the software you are using and learn how to connect a camera first.
-
connect your equipment
-
launch your favorite image capturing software
-
choose MGEN.APP as your camera
-
click on properties
-
click on choose and choose now your real camera driver
-
then you can leave the properties by clicking OK
-
click again OK to finish the camera setup
-
if not already done turn on your MGEN now
-
click on connect
The User Interface should now open and automatically connect to your MGEN and camera.
A short Video on how to connect MGEN to your software can be found here:
Please note that this video is showing an older version of MGEN.APP.
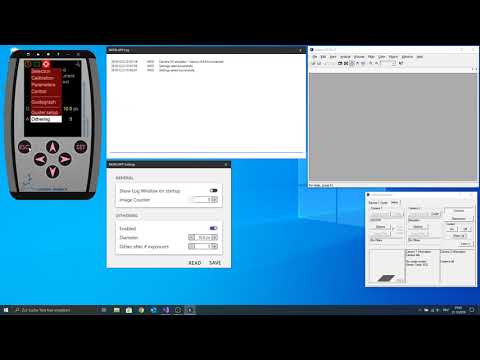
The User Interface
For the best user experience possible the Interface is designed to look and feel exactly like the hardware does.

Extended functionalities can be accessed through the icons from the toolbar in the upper black frame.
Dithering

D stands for dithering and is indicating if dithering is enabled, active, temporarily disabled or disabled. By clicking on the D you can quickly enable or disable dithering without going into the settings window.
Enabled
If the D is green, it means that dithering is enabled and mgen.app will, depending on your settings, dither.
Active

If D is pulsing, it is indicating that the dithering process is currently active.
Temporarily disabled

If D is yellow, it is indicating that dithering will be skipped for the current exposure.
This comes in handy if you are focussing or centering a target.
You can configure the exposure time when dithering should be automatically skipped in the settings window.
Disabled

If D is red, it is indicating that dithering is disabled.
Log Window

By clicking on the Icon the Log Window will open.
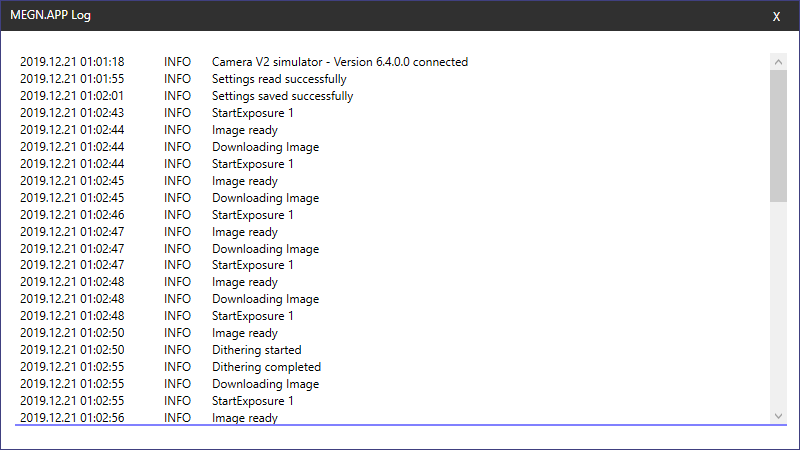
All Events are written into a Logfile which can be displayed for the current session through the Log Window.
Logfile folder

A Logfile for each day containing all Events generated by MGEN.APP is created in the users ApplicationData folder which is located at C:\Users\<your username>\AppData\Roaming\MGEN.APP\Logs . Please keep in mind that the AppData folder is normally not visible so if you want to manually navigate to that folder through the explorer, you need to turn on the option show hidden files and folders.
If you click the Logfile folder icon it will open a new explorer window and navigate automatically to the right folder.
Settings

By clicking the Settings Icon the Settings Window will open.
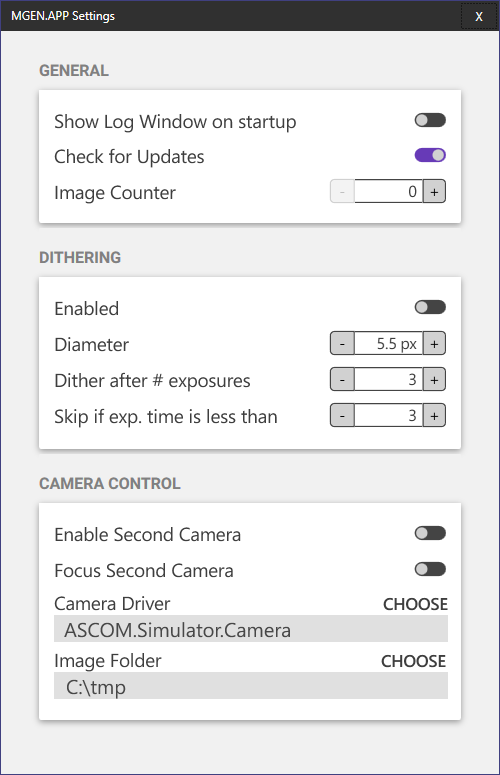
General
Show Log Window on startup

If you toggle this option MGEN.APP automatically opens the log window each time you select MGEN.APP as the camera and click connect.
Image counter

The Image Counter is necessary for counting the exposures so that MGAN.APP knows when to dither. If the Image Counter is greater or equal with the “Dither after # exposures” then MGEN.APP triggers the dither function. When dithering is disabled the Image Counter is set to 0 after each exposure.
If you have done some test shoots and forgot to disable dithering, that means the Image Counter counted up and is not at 0 when you start your imaging plan, you can manually modify the Image Counter. This will immediately take effect.
Dithering
MGEN.APP automatically reads the dithering settings from MGEN every time the settings icon is clicked or after each exposure. So if you edit the settings on the hardware MGEN.APP stays synchronized.
Enabled

Enables or disables the dithering.
You should turn dithering off while you are autofocusing or taking test shoots because otherwise the Image Counter is counting up and if its equal with the “Dither after # exposures” then it will dither. Or if you start your image plan and the Image Counter is not at 0 dithering might happen when you do not want to dither.
Diameter

Sets the value of the used disk.
Note this option does not take any effect on the current dithering. This will be changed in Version 1.0.0.13
Dither after # exposures

Sets the number of exposures after which dithering should be triggered.
Skip if exp. time is less than

Sets the exposure time in seconds when MGEN.APP automatically skips dithering.
For example:
If you’ve set this option to 3 seconds and doing a test shoot with an exposure time of 2 seconds, dithering will be skipped.
If you’ve set this option to 3 seconds and doing a test shoot with an exposure time of 3 seconds, ditheirng will NOT be skipped.
Camera Control
This feature is under development
MGEN.APP can handle two ASCOM compatible cameras at once even if your image capturing software doesn’t support a second camera.
At the moment all commands received from the image capturing software are forwarded to both cameras. For example if you set the cooler to -20 °C both cameras will cool down to -20 °C.
A more advanced camera control will come in the future.
Enable Second Camera

By toggling the Enable Second Camera option the second camera gets connected to MGEN.APP
Focus Second Camera

This feature doesn’t work with MaxIm DL 6 and SIPS
By toggling the Focus Second Camera option MGEN.APP is exposing the second camera only and send back the image of the second camera to the caputring program.
If the chip size of the second camera is smaller then the chip size of the main camera, some programs crash because they expect the image array to be the size of the main camera but the second camera’s image array is smaller.
Known programs which will crash are MaxIm DL 6 and SIPS.
To focus the second camera in MaxIm DL 6 or SIPS you need to connect them directly to the image capturing program and if the camera is in focus then disconnect the camera, select MGEN.APP as camera and then under settings select your second camera.
Camera Driver

By clicking the “CHOOSE” button the standard ASCOM Driver selector will pop up. Here you select the camera driver for your second camera.
The choosen driver will be then shown in in the grey box.
Image Folder

By clicking the “CHOOSE” button you can choose the folder where you want to save the images captured by the second camera.
This is needed because the ASCOM standard doesn’t allow to send multiple images to the capturing program.
The images files are named yyyy-mm-dd_hh-mm-ss.fits
Help

By clicking the help icon this helpfile will open.
Minimize

By clicking the minimize icon the window will minimize to taskbar.
Close

By clicking the close icon the User Interface will be closed.
Keep in mind that you only can reopen the User Interface by disconnecting and reconnecting MGEN.APP
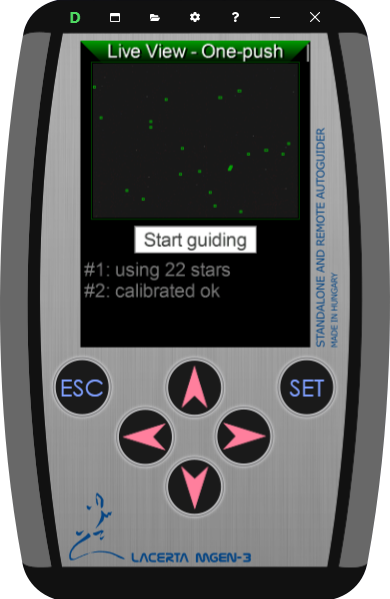
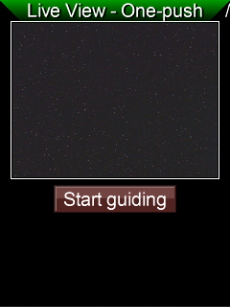
Display
The display shows the actual screen from MGEN. To keep it smooth the display gets updatet 10 times a second. Modifying the “LCD backlight” won’t affect the user interface.
Buttons
You can click all the button with the mouse or with your computers keyboard.
Changing the color and brightness will affect the User Interface.
ESC Button
The key which triggers the MGENs ESC button is the Esc key on your computers keyboard.
SET Button
The key which triggers the MGENs SET button is the Enter key on your computers keyboard.
Navigation Button
The keys which triggers the MGENs navigation buttons are the navigation keys on your computers keyboard.